How to Make Raw Milk Butter WITHOUT a Churn | Homesteading
So, you have plenty of raw milk cream, and you want to make delicious, healthy butter. But you don’t want to pay for an expensive churn. In this post, we are going to teach you the simplest, least expensive, least messy way to make butter WITHOUT a churn at all!

This post may contain affiliate links. When you shop through them, it blesses our family in a small way at no extra cost to you. Thank you!
Why I wanted to make butter at home:
Butter is like a life necessity! Okay, maybe we shouldn’t go that far. But, butter is used in tons of recipes, used for frying, on bread, and more. Our family of eight used butter multiple times a day. After learning about the extensive list of benefits of raw milk dairy as opposed to pasteurized dairy, our family made the complete switch. In this post, we are not going to cover the benefits of raw dairy, but if you are not familiar with them we encourage you to research it! We have not purchased pasteurized, store-bought dairy at all in several months. So, being committed to our decision I was determined to figure out a way to make butter at home without any expensive investment. Plus, making homemade butter also means getting fresh buttermilk!
Types of Butter Churns:
Butter churns range from very expensive to less expensive and from a little bit of work to a lot of work. You can buy a less expensive hand crank churn that just sits on top of a glass jar, but requires work. Or, you can buy an electric churn that takes the work out of it for you, but is pretty expensive. There are even old fashioned churns available that require the most work of all, AND are probably the most expensive. Who wants to pay a lot AND do a lot of work? Not me.
So, I had researched all different types of butter churns after taking a raw dairy class and hearing some recommendations. However, I picked up on something the teacher said. She hinted that you could even just use a mason jar and shake it up. Although she didn’t expand or teach this method at all, I was curious if it were true. The teacher also mentioned that no matter which type of churn you use, you can make butter in about 15-20 minutes. To save money I decided that we had enough muscle in this house to try to make healthy butter without a churn at all.
Did it work? YES! The first time I tried it I wasn’t sure if it would work, but it did. I did it by myself in a little over 15 minutes and it was easy! Now, we make butter at LEAST weekly. So, my preferred butter churn is a mason jar and willing hands! Ready to start?!
What you’ll need:
- Raw milk cream (best if saved a few days or more)
- Mason jar and lid
- Fine mesh strainer
- Filtered water
- Medium bowl
- Spatula or other flat utensil
- Sea salt (optional, but recommended for storage)
- Another mason jar and lid (for the buttermilk)
- Airtight container
How to make butter without a churn:
1. Save raw cream in a mason jar for at least a few days, filling the jar only 1/2-3/4 full.

2. When you’re ready to make the butter, take the jar out and just start shakin’! Shake the jar up and down, and side to side. (There’s actual science behind the need for different rotations.) Shake about 15 minutes or more.
3. Keep going, don’t give up! The first thing you will notice is a foam rise to the top of the jar. Getting tired? Pass it around! My husband is my favorite churn! =) The foam will make the top of the jar look full of the cream. This is what that foam should look like:

4. The foam will begin to settle and you will see the top of the jar clearly again. You will start to hear and feel solid pieces begin to hit the sides of the jar. You may even start to see that beautiful yellow butter already. It will look something like this:

5. Keep shakin’! Shake just a little longer until the jar is totally clear on top, and to make sure that no more milk turns solid. Here are a few pictures of what it can look like when the butter is separated from the buttermilk:


6. Strain the buttermilk into a clean, airtight container. Store the buttermilk in the refrigerator. Let the buttermilk sit at least 6 hours before using, and use within 14 days.

7. After you have separated and stored the buttermilk, it is time to rinse the butter. Pour a little cold, filtered water into the jar with the butter. Shake and swirl around the water gently to rinse any remaining buttermilk. Then, strain out the water into the sink. Repeat this rinsing process 2 or more times until the water rinses clear. Do NOT add this water/milk rinse to your buttermilk, and do NOT save it to use. (I have heard that only pigs can drink that rinse. Research it and be sure before feeding!)
8. Take the butter out of the jar and put it into a clean bowl. Wooden and ceramic bowls work great! Using a flat utensil, like a wooden spatula, press and fold the butter repeatedly. This is like kneading dough. This will remove excess milk/water for best, safest storage. If you want to add salt, sprinkle the salt in every few press and folds.

9. After you have squeezed out all excess liquid and added your salt, it is time to shape the butter and store it. Shape it however you want. Store it in an airtight glass container in the refrigerator.
Storage Info:
If you want to store long-term, it requires a hight amount of salt and certain container, but that will be a different post. For regular use and storage, a little bit of salt to taste is fine and it will last 1-3 months in the refrigerator. You can also leave it unsalted for baking, but know that if there is no salt to preserve it, it will not last as long. Note, that raw dairy products do not necessarily go bad, they just sour over time and may reach a point beyond your liking.

Now, you can make butter without a churn!
You can have healthy raw milk butter that you made by hand! Fresh, healthy, and trusted! This was a money-saving way to make butter without a churn. And when you try it, you might even realize that it tastes BETTER than store-bought, pasteurized butter. One thing to note, is that when melting it and cooking with it, it has a different smell than store-bought butter. It may be a smell you love, or one to get used to, but either way, it will taste GREAT!
If you try this out or want to, leave us a comment and let us know! Share the love by sharing this post via social or pinning one of the pictures below to Pinterest! And we hope that you will sign up to our newsletter below for more education, inspiration, and tools to help you live abundantly on your homesteading adventure.
Thanks for hanging out with us! We hope that this helps you live abundantly!


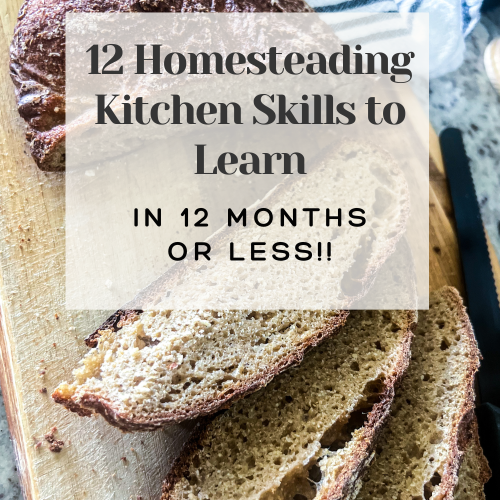 12 Homesteading Kitchen Skills to Learn in 12 Months or Less
 5 Reasons to Start a Winter Garden
 4 Questions to Ask Yourself Before You Start Homesteading
 Quick and Easy Homemade Enchilada Sauce | Recipes for Large Families
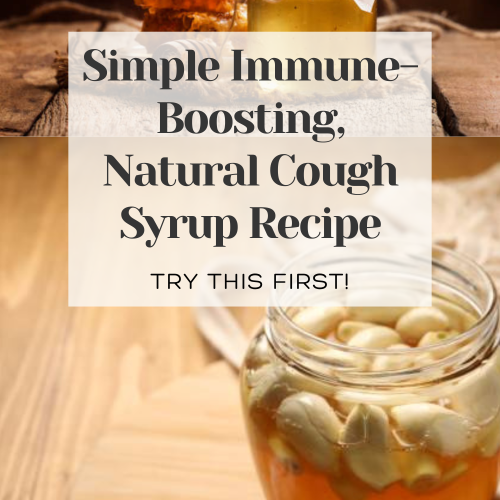 Simple Immune-Boosting, Natural Cough Syrup Recipe
 Free Planner for Christian Moms | Printable Planning Pages
 7 Ways to Create a Christ-centered Homestead | Homesteading & Christian Living
 12 Tips for a Nourishing Fall Routine for Christian Homeschool Families | Homeschooling & Routines
 8 No-Waste Ways to Preserve Peaches | Homesteading & Sustainability
 5 Reasons Enameled Cast Iron is one of the Best and Safest Cookware and Bakeware Materials | Homemaking, Natural Living, & Non-Toxic Living
 How to Homestead through Transitions | Homesteading and Spiritual Encouragement
 3 Quick Mindset Shifts for Success in Summer: from Overwhelmed to Overjoyed as a Christian Homesteading, Homeschooling Mom
 Sourdough Crepes Recipe for a Large Family | Homesteading Recipes for Large Families
 Sweet and Creamy Protein-filled Oatmeal Recipe for Large Families (FREE Recipe Cards) | Recipes for Large Families
 How to Keep Chickens Cool with Peppermint Infused Ice Cubes | Raising Chickens
 12 Simple Meal Planning Tips from a Homesteading, Homeschooling Mom of 7 for Stress-Free Meal Planning
 15 Health Benefits of Raw Honey | Honey
 10 Ways to Save Money as a Large Family | Homesteading
 4 Herbs for Healthy Chickens | Raising Chickens
 How to Use Eggshells to Make a Calcium Supplement for Chickens | Raising Chickens
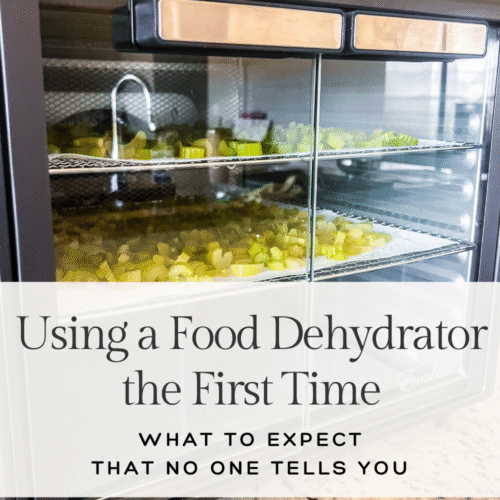 Using a Food Dehydrator the First Time: What to Expect that Most People Don’t Tell You | Homesteading Skills
 5 Homesteading Skills for Beginners to Master First
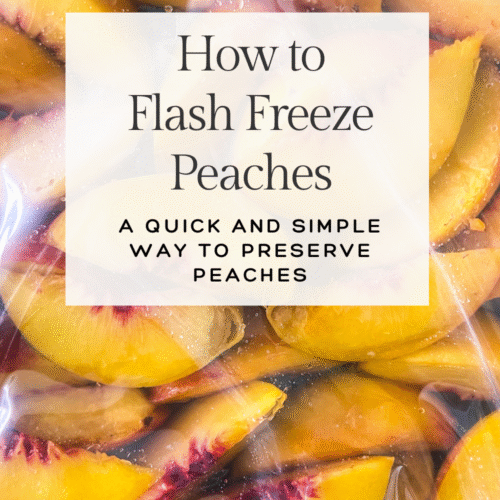 How to Flash Freeze Peaches: A Quick and Simple Way to Preserve Peaches | Homesteading Skills
We had some older raw cream in refrigerator, and I wanted to make butter. I had ordered a Kilner manual butter churner, and had used it. I churned about 3 minutes, and had butter!! Once before I churned and churned, and never did get butter. It might have been because the dairy family from whom we buy the dairy products from had their refrigerator go bad, so maybe the cream had already started to turn into butter. I don’t really know. Also this time I poured off most of the milk to make the cream thicker.
Wow! 3 minutes is great! I never heard of getting it that fast!
I’m no stranger to shaking and loved reading your post! I used to make butter that way back when I had a milk cow 30 years ago and we’d pass the jar around too. I usually culture my milk first and use the sour cream that results to make butter. It makes an awesome tasting buttermilk. Now I like to use the food processor. Getting lazy. But it’s good to remember ways we can do things that don’t require electricity or modern tools. Glad you shared this!
We are so glad you enjoyed this post! And we are so glad you shared with us some of your experience! I love what you are also now doing. We just got our first immersion blender with a food chopper attachment that way may also experiment with lol. We will see what ends up being our go to, but we definitely wanted to know how to do this with little to no equipment first.
Such a great post for anyone who wants to be able to make butter but can’t afford expensive equipment! It was a great read and really made me want to get a milking cow and finally be able to do this lol.. Maybe one day 😉
We are so glad you enjoyed it!
Great post! Look at that beautoful color!
We used to make with a handheld churn and haven’t tried shaking jar method. Would be fun to try, thanks!
It is fun, and especially to pass around with kids! Kids that you think can be careful with a glass jar however.