8 No-Waste Ways to Preserve Peaches | Homesteading & Sustainability
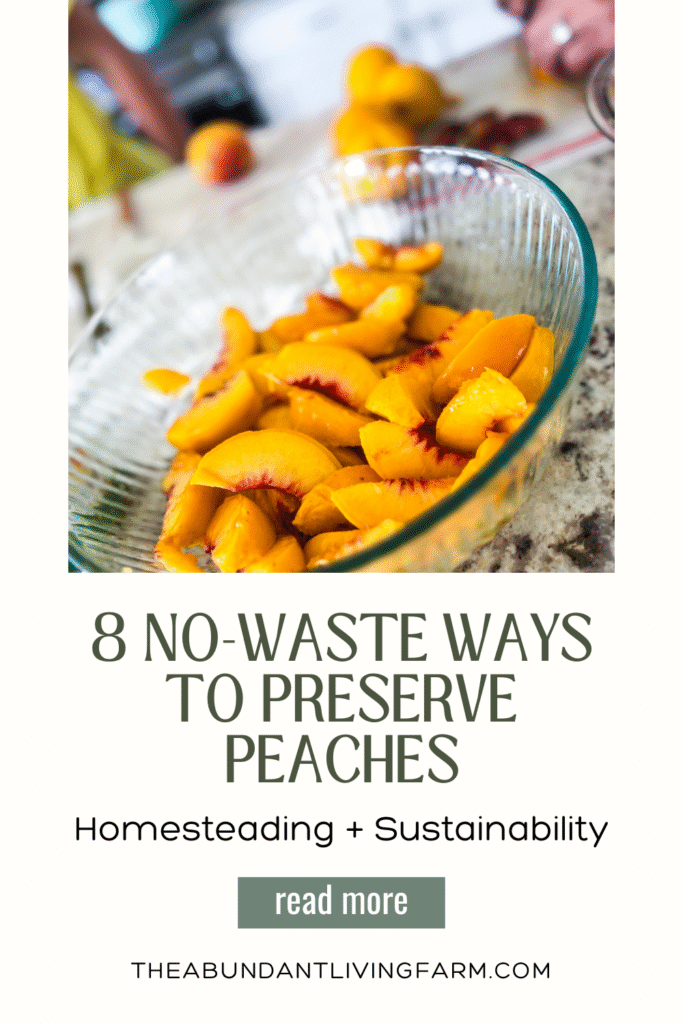
Whether you grow your own peaches or buy them in bulk, you can preserve them to keep a prepped pantry and freezer this harvest season. Today, we are talking about 8 no waste ways to preserve peaches and use every last bit you can.
This post may contain affiliate links. When you shop through them, it blesses our family in a small way at no extra cost to you. Thank you!
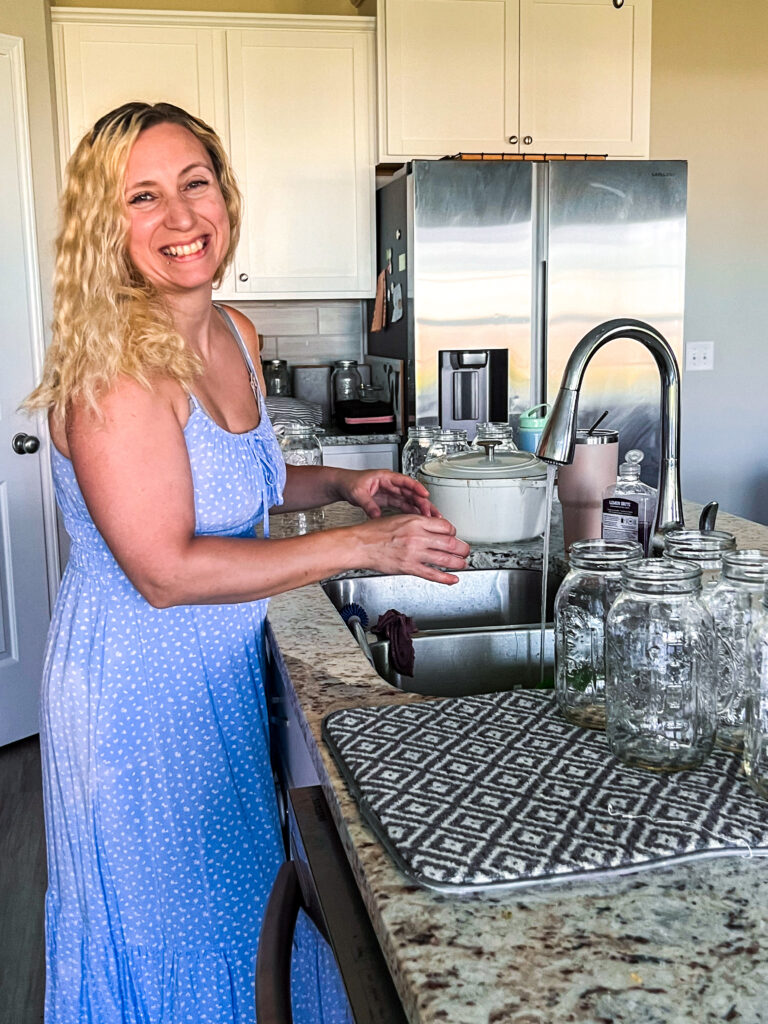
Hi, I’m Priscilla!
As a young, growing family facing job loss in 2013, with a toddler and a newborn baby, I wanted to learn how to grow food to supplement our rising grocery bill, but I had no experience. So, I called on my mom to help me start my first garden as cheap as possible. I remember her stewarding a small garden from time to time when I was growing up. We started one with blocks, soil, seeds, and a few starters that she helped me invest in. And that’s how I started!
Before I was a homesteading, homeschooling mom I was a professional musician and music teacher. I carried over my teaching experience into homeschooling my children, but I learned it was much different teaching your own children. And, when I started homesteading, I started with NO experience. It was something I never imagined doing. I had to do a lot of researching and learning each season. So, I know how hard it is to start homeschooling and homesteading with no experience!
After 2020
After the events of 2020, we saw the vital need to learn to grow and raise real God-given food in abundance, and continue homeschooling all of our children. We felt God had a new call and season for us. So in 2021, we left everything behind, and moved from northwest Indiana to southern Georgia. And we just got started!
How we can help you?
Now, I’ve homeschooled for 11 years and have 6 children of homeschool age with 1 more in waiting. And, we established our homestead in 2021 with lots of research and no experience. We built up gardens and livestock and had a small farmstead business within 2 years. We stewarded a small farmstead by selling fresh eggs and healthy chickens to many happy customers!
Also, we started taking and completing several homesteading courses, and we continue our education every year. And, I’m always looking for ways to make things more time efficient by making them simpler to do and sustainable. When things are simpler, they are more sustainable in our already full lives.
But, an unexpected turn of events landed us in a rental home in an HOA neighborhood while we search for land. We proved to ourselves that we could still homestead even with all the restrictions. We knew if we could do it, others could do it too! So, we started this blog and our newsletter to equip modern families to live abundantly in their homesteads and homeschools no matter where they live and with no overwhelm or burn out. NO EXPERIENCE NECESSARY! We offer simple and affordable solutions, free printables, resources, and encouragement for your Christ-centered beginner homesteading, homeschooling journey.
Introduction
Whether you grow your own peaches or buy them in bulk, you can preserve them to keep a prepped pantry and freezer this harvest season. Today, we are talking about 8 no waste ways to preserve peaches and use every last bit you can.
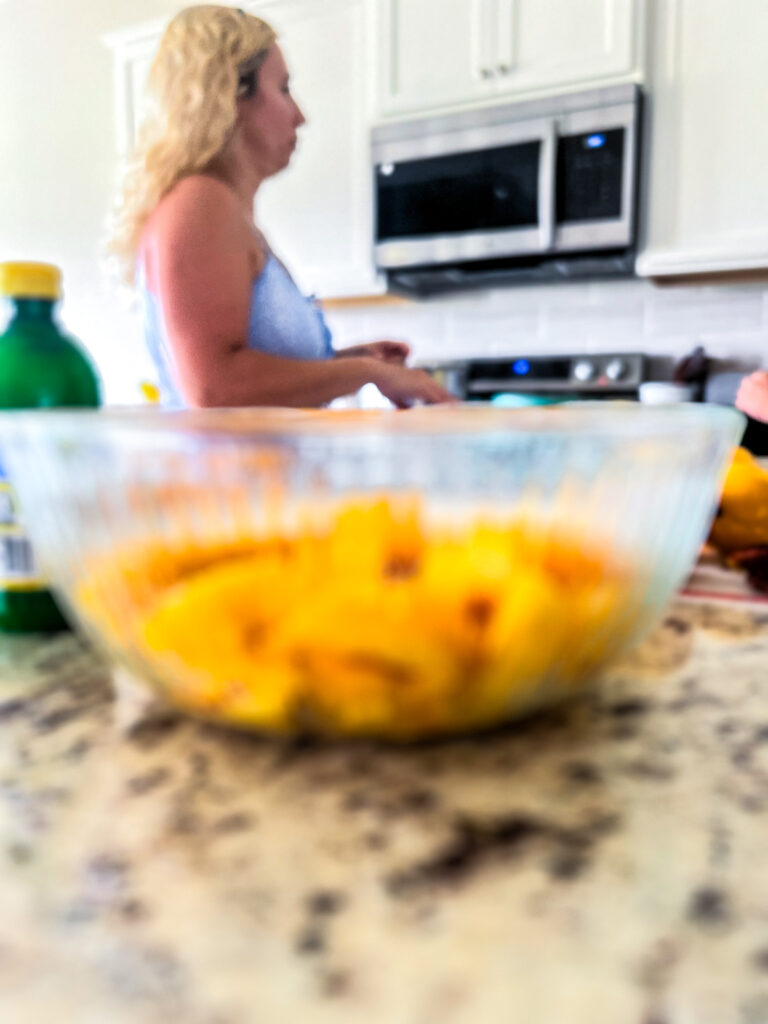
Since we are currently renting, we do not have any mature fruit trees. It was peach harvest season here in Georgia and peaches were being sold by the box (1/2 bushel) and we bought 3 (1 1/2 bushels). For our large family, we knew that would help save money and offset our grocery bill in the fruit department if we could preserve them and have peaches at least through part of winter. And, this was our first time preserving peaches, so come learn along with us!
8 No-Waste Ways to Preserve Peaches:
1. Canning Peaches
Canning may be the first thing you think of when it comes to preserving fruits and vegetables. It is one of the homesteading skills that has greatly been revived by modern homesteaders because it can be done anywhere. You don’t need a lot of land, or to even grow your own food to be able to can food. You can buy food in bulk, or at great sale prices, and can it to build up your pantry inexpensively. That’s what we did with peaches!
Although canning is the most common method of preservation, we actually canned the least amount of peaches from our bulk buy. We canned 6 pints and 3 quarts of peaches totaling about 24 cups of peaches.
Peaches can be canned by water bath canning or pressure canning, but water bath is recommended more. We water bath canned the pints and pressure canned the quarts. From this experience, we would recommend water bath canning. Always practice canning according to the National Center for Home Food Preservation guidelines) for peaches. We have not eaten any yet, but the end result in the appearance of the pressure canned quarts of peaches did not look as appetizing. It is possible they were slightly over processed. It can be hard to perfect pressure canning times with all the adjustments needed. But, food is still perfectly safe when properly sealed. For us, water bath canning was much easier to time properly.
Want to learn to can food?
Are you wanting to learn to can food? We are not experts on canning food, but we can lead you to some resources. You can get a reliable book, take a course from a reliable source, follow your canner’s product manual, or read about it for free on the National Center for Home Food Preservation’s website which are the guidelines we used. (Note that canning peaches involves making a simple syrup, as well as blanching and freezing which we talk about below.)

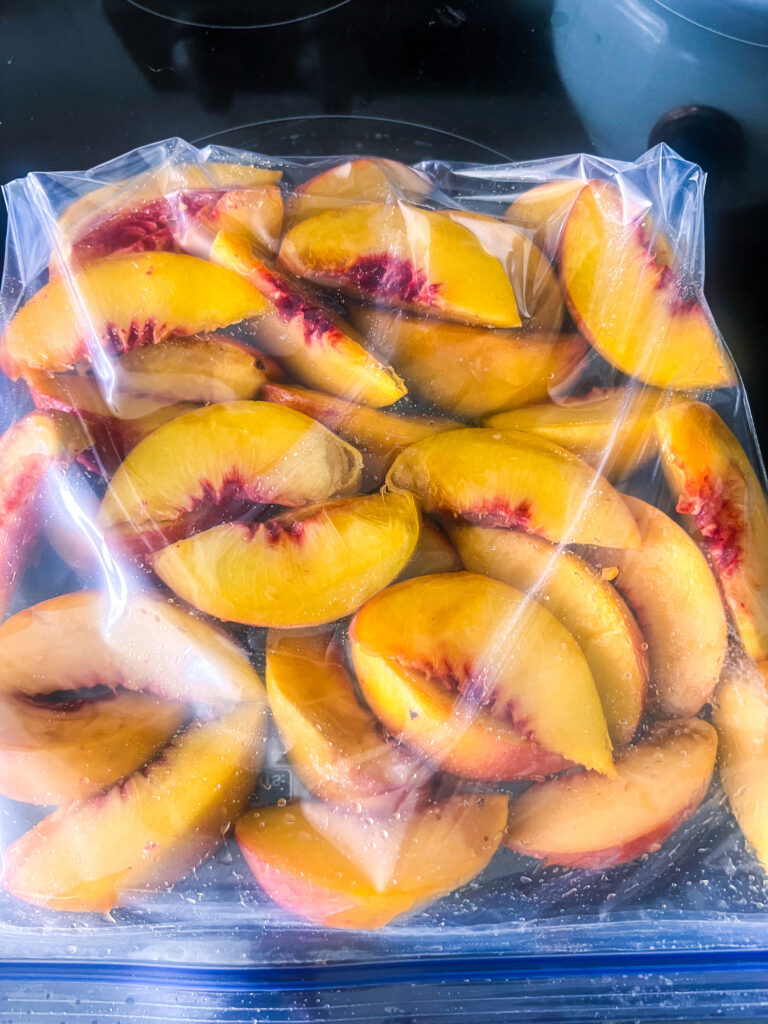
2. Flash Freezing Peaches
I am a fan of freezing food as a method of preservation. Freezing food is simple and quick and offers some shorter term options and some longer term options. We do not like to solely rely on freezers since power can go out. In our area, we have lived through hurricanes the last few years that have caused damage and outages. However, we have a generator and have not (thankfully) had to deal with our freezers defrosting. Also, with a productive and full life, freezing has proved to be one of the quickest ways I can preserve food. Now, we also have plenty of freezer space for our current needs. We have two deep freezers and two refrigerators with freezers. You may need to consider your freezer space when choosing this method of preservation.
Peaches can be frozen a couple different ways, and we are going to separate those ways. One way is to just flash freeze them. This is basically just washing and prepping your peaches, freezing them on something like a cookie sheet for a few hours, then transferring them to a freezer-safe container or freezer bag. However, there are a few different ways to do this. You can leave peels on or off, slice or dice, add lemon juice to prevent browning or not, and you can freeze them as is after flash freezing or add a simple syrup to your freezer container or bag with the peaches. A simple syrup will make the peaches sweeter, and you can determine how heavy/sugary that syrup. Here is the step-by-step way to flash freeze peaches as one of our favorite ways to preserve peaches.
Steps for Flash Freezing Peaches (with options):
- Wash all peaches well or use a non-toxic produce wash/soak.
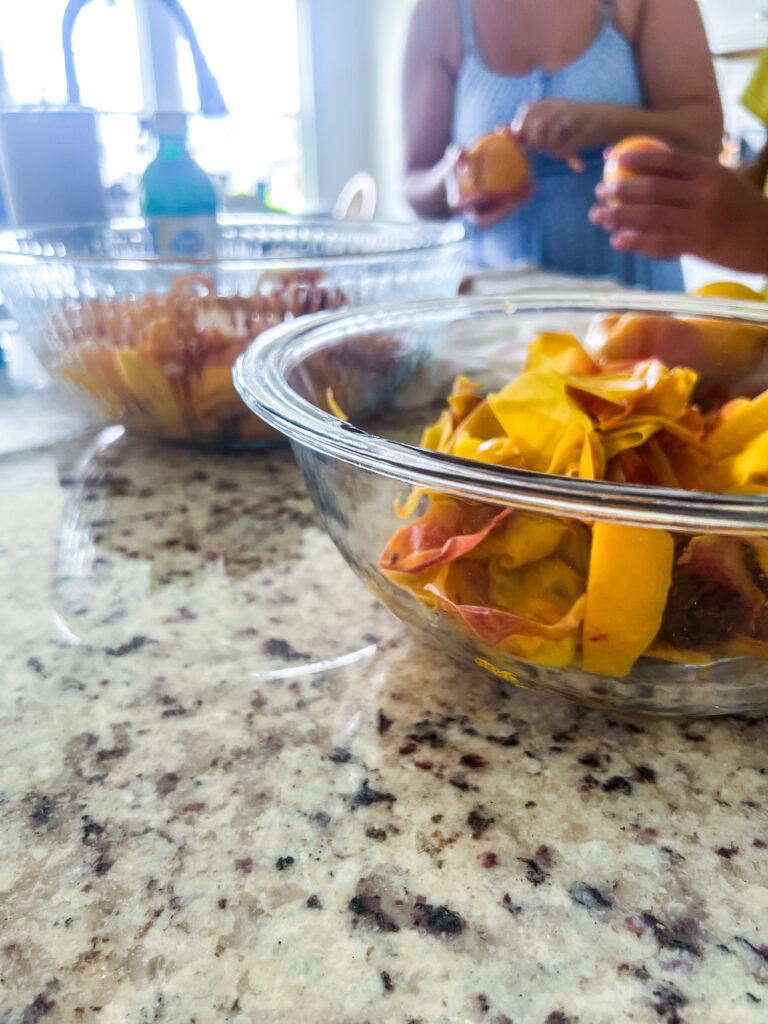
- If you want to remove peels, do so here. (But, don’t throw away the peels! Keep reading to see how we keep this process no-waste!)
- Next, slice peaches or dice them into cubes.
- To prevent browning, put the peaches into a bowl and add 1 teaspoon of lemon juice for small batches, 1 tablespoon of lemon juice for large batches, and mix well to ensure all peaches have been covered. Adjust the amount of lemon juice needed to make sure all pieces were covered, but not necessarily soaked. (This step can be skipped. It is not necessary. Just like apples starting to brown that are still good, peaches also brown from the air and are still good to eat. So, this is your preference.)
- Put peach pieces in a single layer on a piece of parchment paper on a cookie sheet, and place it in a freezer for about 4 hours.
- If you are going to freeze your peaches in a simple syrup, make that syrup while the peaches are flash freezing. Make sure the syrup is completely cooled before adding them to the frozen peaches. Learn how to make a simple syrup down below.
- Once the peach pieces are frozen through, you can add them directly to a freezer bag or freezer-safe container. If you chose to make a simple syrup, you can add the peaches to a freezer bag or freezer-safe container, and then top them with your completely cooled off simply syrup being sure to leave space in whichever container you chose to use.
- Mark the date on your container and store in the freezer for up to 3 months.
Read our full post on How to Flash Freeze Peaches!
3. Blanching and Freezing Peaches
Blanching before freezing is another freezing method of preservation. Taking a little extra time to blanch the peaches before freezing, we read, will actually make the peaches last up to 6 months instead of only 3. Blanching also helps the peels come off easily. So, we preserved our peaches both ways to intentionally use some peaches sooner, and have some peaches last longer into the winter. You can do the same thing. Designate some of your bulk buy to be eaten within the first 3 months after preserving, and designate some that will last up to 6 months. Here is a step by step way to blanch peaches before freezing:
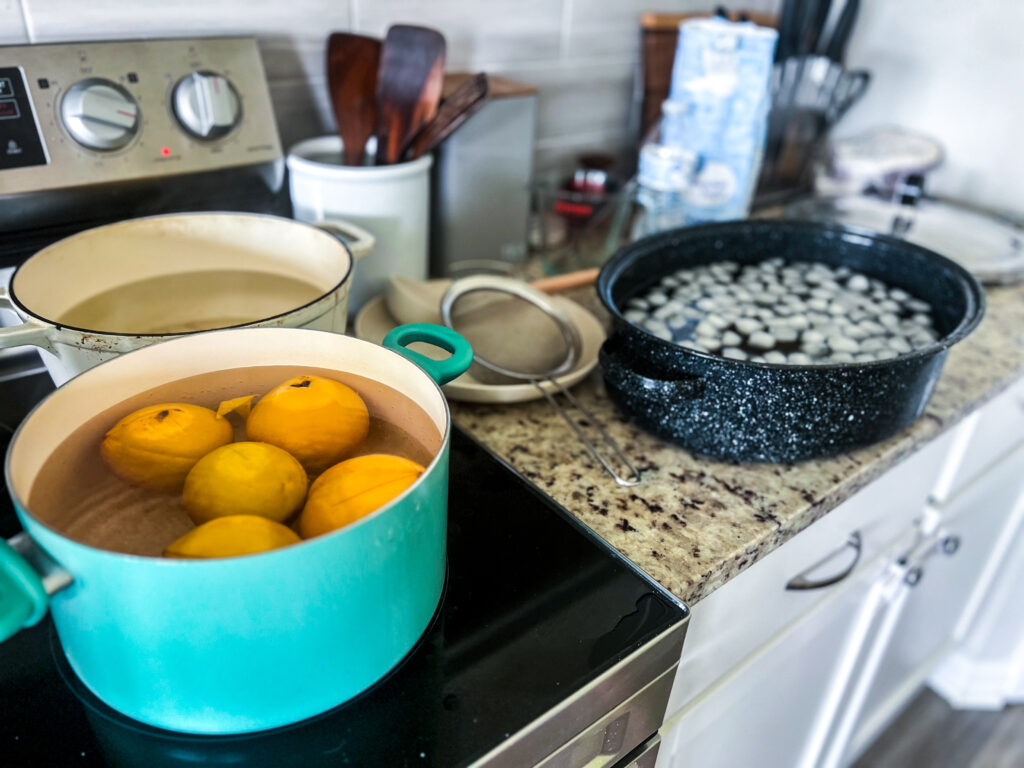
Steps for Blanching Peaches before Freezing:
- Wash all peaches well or use a non-toxic produce wash/soak.
- On the bottom of each peach score an “x” pattern with a small, sharp knife and set the peach aside.
- Fill a large pot 3/4 full with water and bring it to a boil.
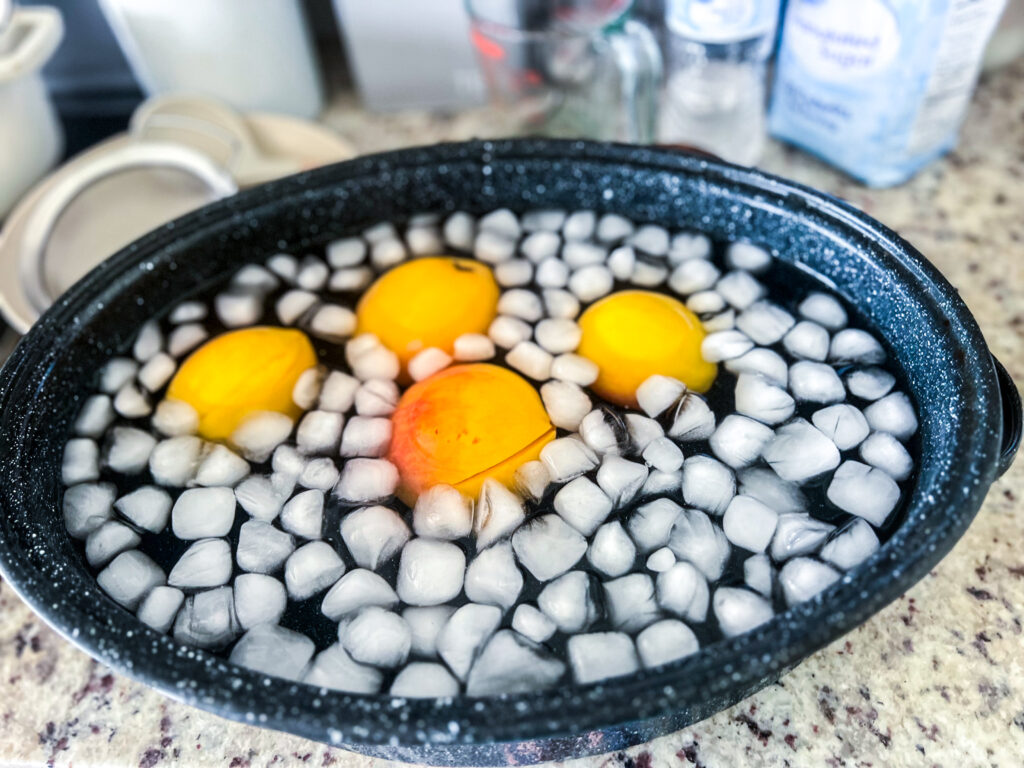
- Prepare an ice bath. Fill a large bowl or container with ice and cold water and have it near, but not too close to your stove.
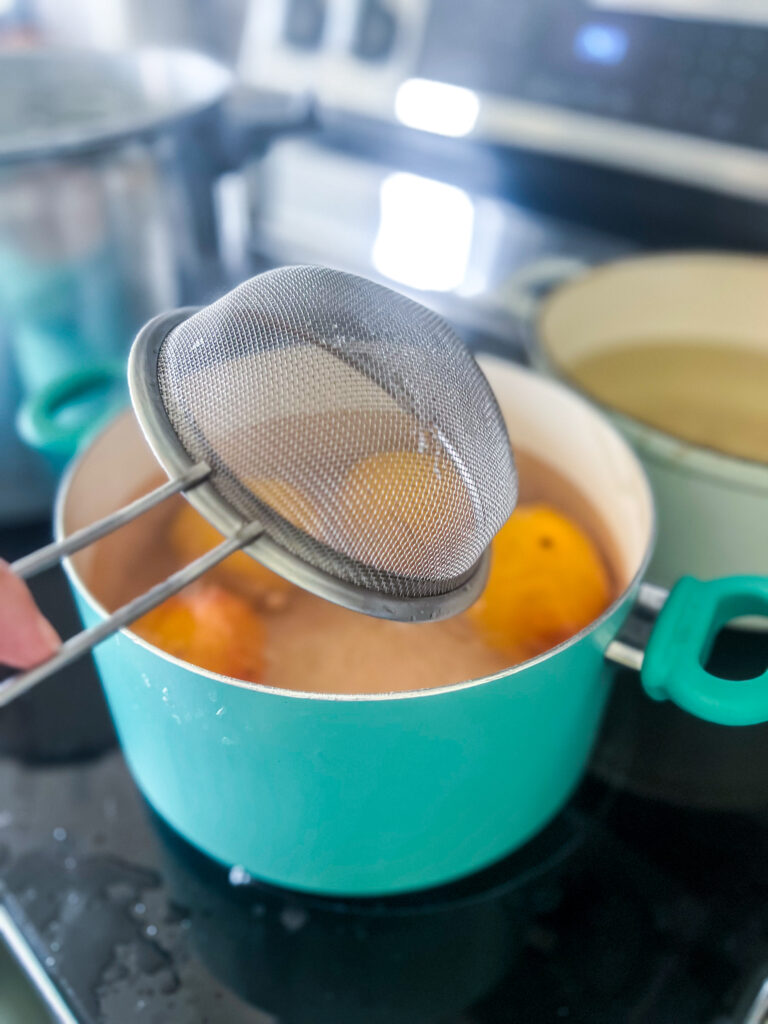
- Once the water is a rolling boil, use an appropriate size strainer with a handle or a slotted spoon to gently place peaches into the boiling water. Be careful not to place too many peaches at once. This can slow the boil too much, or make it difficult to work with.
- Let the peaches boil, or blanch, for 30-60 seconds.
- After the 30-60 seconds, use the strainer or slotted spoon to immediately remove the peaches from the boiling water and place them into the ice bath. Let the peaches sit in the ice bath for at least a minute before removing.
- Remove the peaches. Now, if you are going to peel the peaches, you want to do so as soon as you remove the peaches from the ice bath for easiest peeling. If you are going to leave them on, then proceed to your preservation method of choice. (If you remove peels, we recommend that you don’t throw them away! Keep reading to see how we keep this process no-waste and sustainable!)
- If freezing, follow the steps above in number 2 for how to flash freeze and then freeze. Once frozen, store in a freezer-safe container or freezer bag and put in the freezer for up to 6 months.
How to make a light simple syrup for freezing peaches (the simplest):
A simple syrup can be super-light to heavy. First, you need to determine how sweet you desire your syrup to be. A common method for simple syrup is a 50/50 mixture of sugar and water, or a 1:1 ratio. But, this is considered to be a heavy syrup. This is more sugar than I wanted for our family, so I made a light syrup. Find a simple chart for sugar to water ratios for simple syrups here. Here is how to make a light simple syrup. If you want a different ratio, just use the chart to adjust the amount of sugar to water.
- Combine 2 1/2 cups of sugar and 5 1/2 cups of water in a medium saucepan.
- Use medium heat to bring this combination to a boil, and make sure to stir the mixture frequently to help the sugar dissolve.
- Once it is boiling, reduce the heat and simmer the mixture for a minute or so.
- Remove the saucepan from the heat and leave it uncovered to cool down for use in freezing. If you are using this recipe as a simple syrup for canning, then you need to cover the syrup and keep it warm.
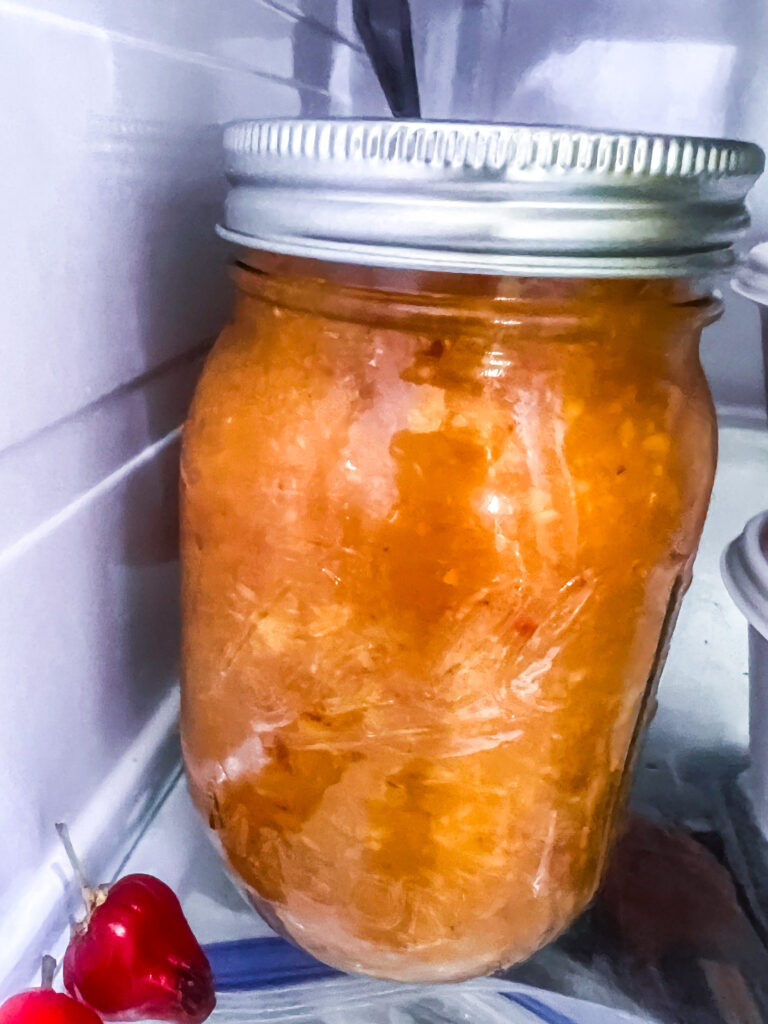
4. Peach Puree
As I was thinking on what to do with extra peach pieces, pieces that were starting to go bad, and the skins, I thought to just make them into a puree! I didn’t want to waste anything. Everything costs something! And, I wanted to make sure we were making the most of our investment in the bushel and a half of peaches.
My emulsion blender could puree in a matter of seconds! It ended up being the fastest way we made anything out of the peaches, and we hadn’t even planned on it. We pureed peach skins and pieces in rounds, added a little lemon juice, and we stored it in a few ways. One way we stored the puree was in a quart mason jar, added lemon juice, and stored it in the fridge for short-term use to use in smoothies. Then, we froze the rest of the puree in 3 ways.
The first way we froze the puree was by putting it straight into freezer-safe mason jars and storing in the freezer. The second way was to fill ice cube trays and flash freeze them. Once the cubes were frozen we transferred the cubes into a freezer gallon bag. The third way is what we did because we had so much puree left over and not enough ice cubes trays or freezer-safe jars… we put the puree directly into gallon freezer bags and figured we could defrost those when we planned on using a larger amount. We have a large family of 9 so that wouldn’t be difficult. A frozen puree can last anywhere from 3 up to 6 months in the freezer. So, this quickly became the easiest and best way to keep this project no waste!

5. Peach Simple Syrup
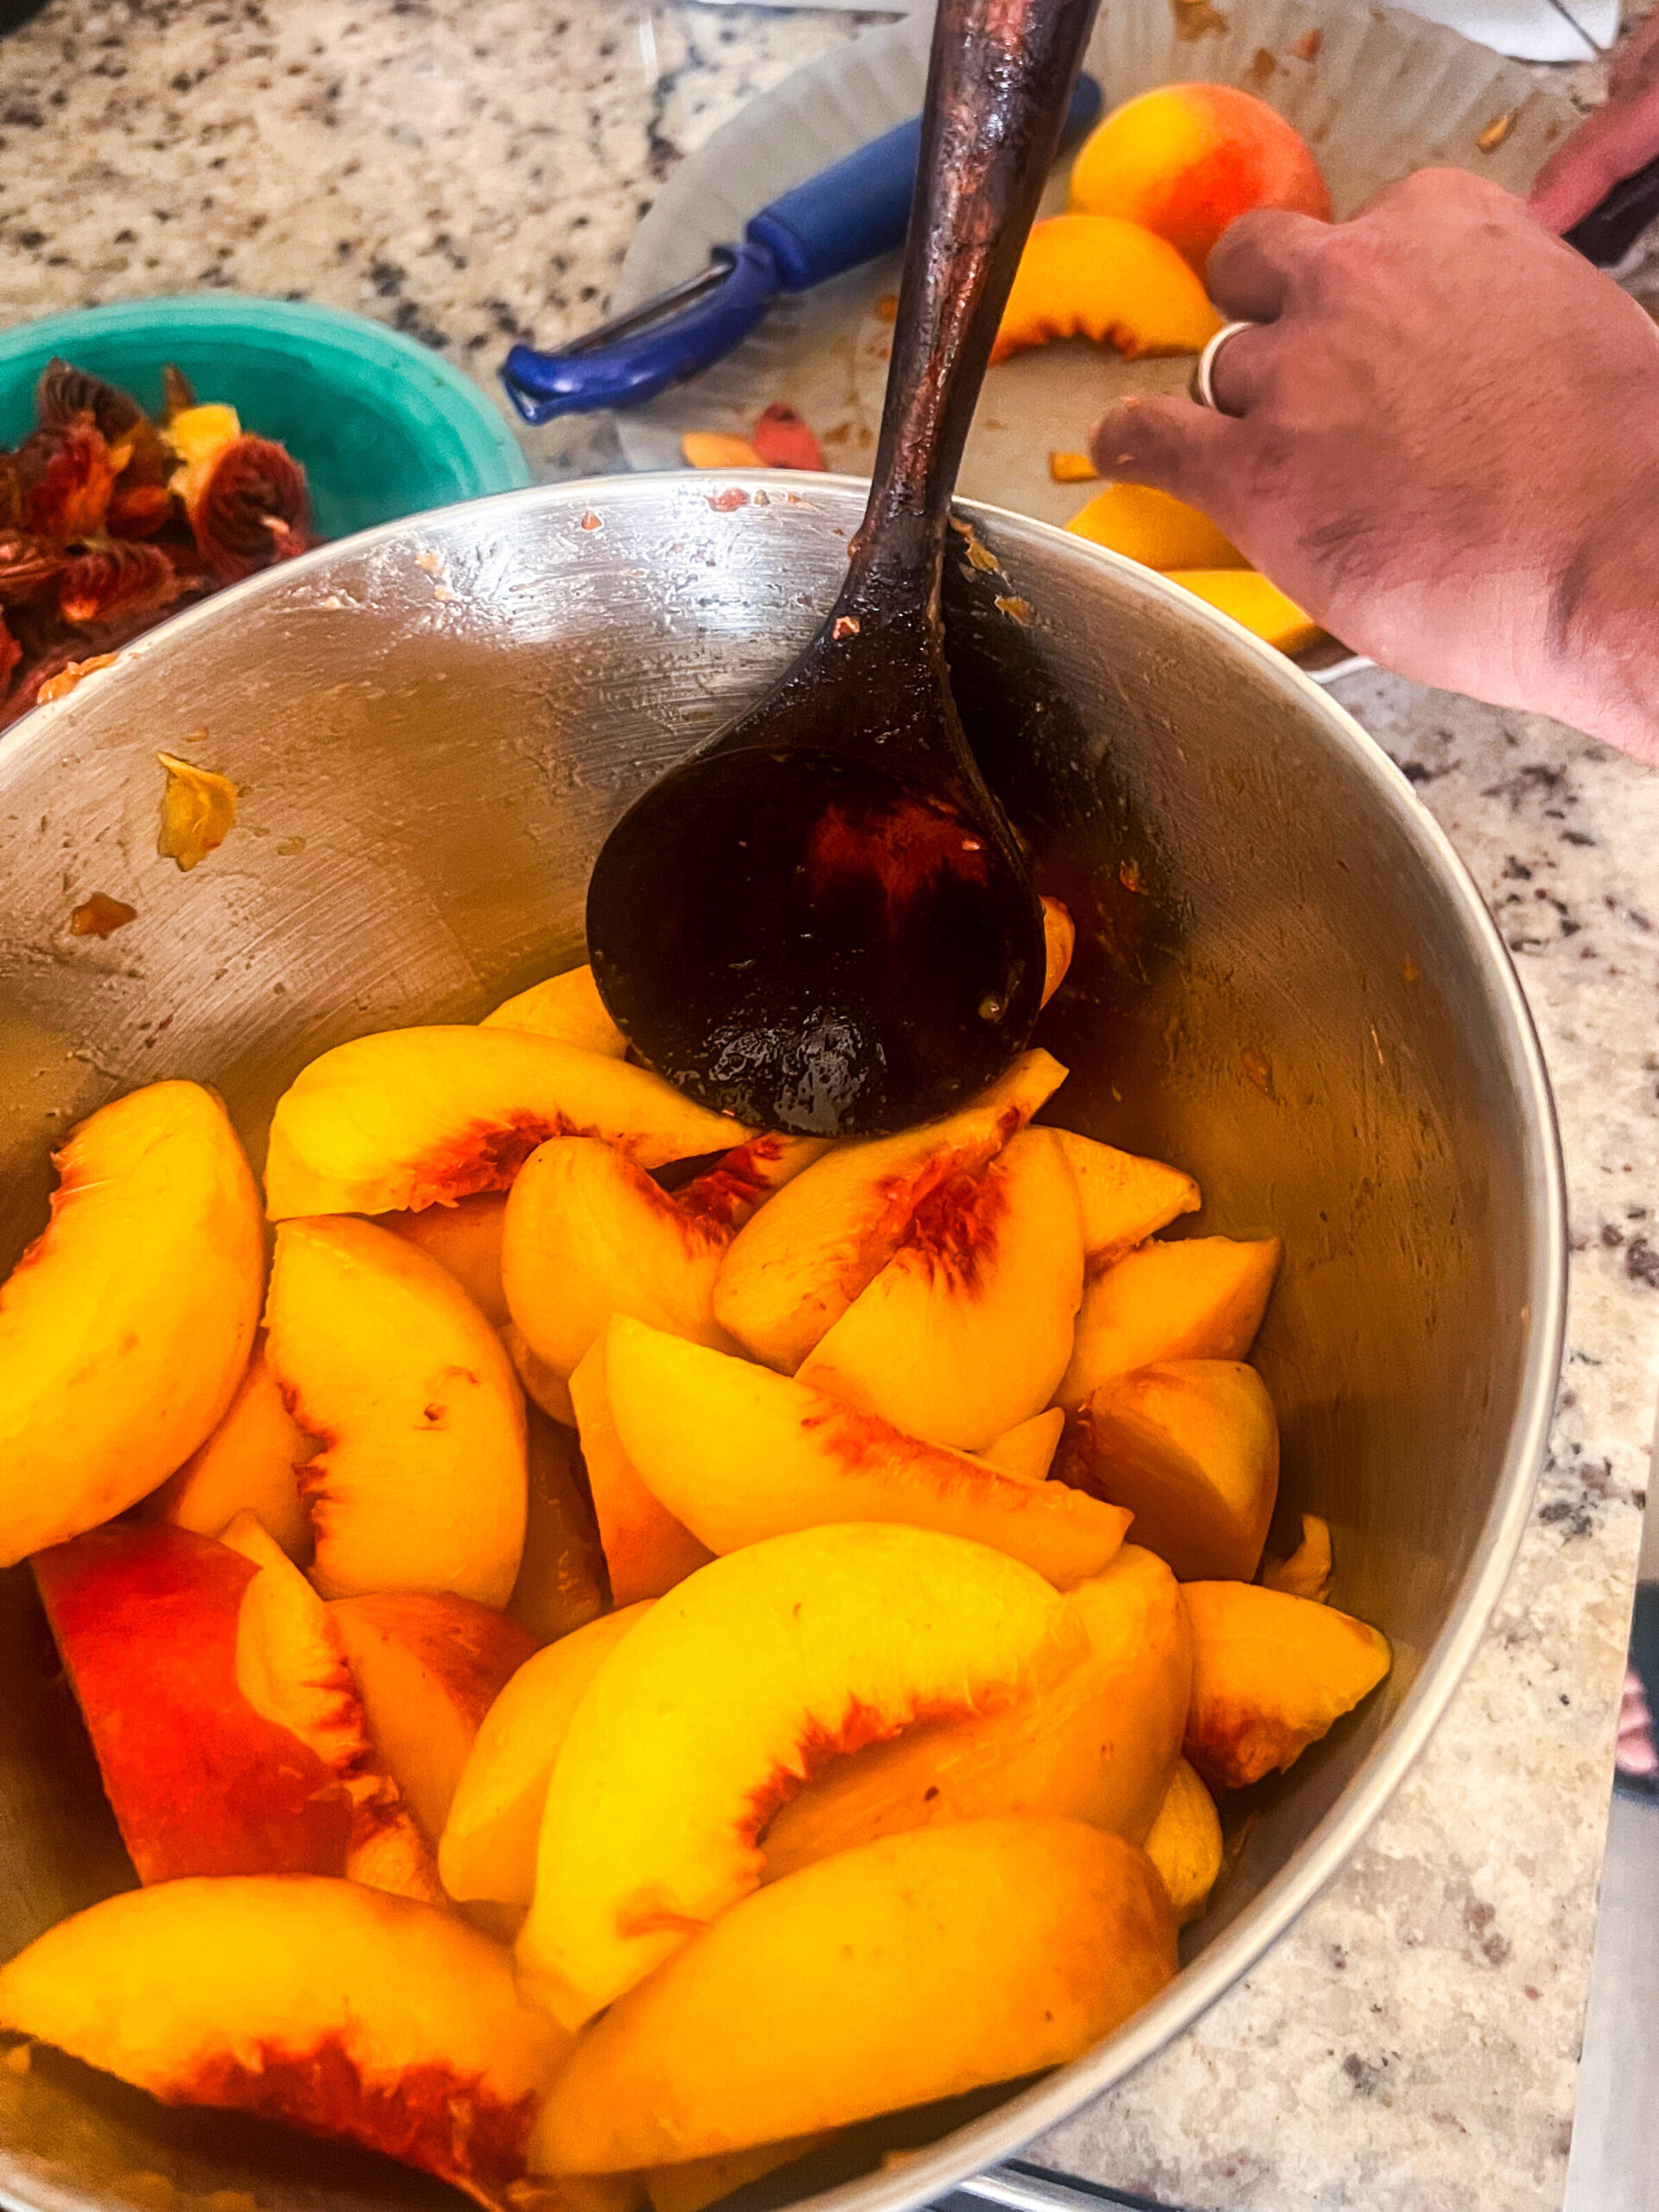
Again, we didn’t want to waste a thing. So, we had extra simple syrup from canning and stored that in the fridge for short-term use. Then, we had the idea to research how we could re-use the blanching water. And, many people recommended a few things, but the first we chose was to use it to make a peach simple syrup! This works because boiling peaches is actually how you start with making a peach simple syrup. One key is to make sure you wash fruit well before blanching to safely re-use that water. Here’s how to make peach simple syrup.
How to Make Peach Simple Syrup from Blanching Water:
Note one thing. Depending on how many peaches you blanch will depend on how flavorful your peach simple syrup is. If you did not use a lot of peaches it will be lighter in flavor and you can try a couple things. You can boil more peaches, add an extract, use the syrup in something like a smoothie, or add another simple syrup flavor to it.
- Once your blanching water is cooled down enough to handle, measure it out using a funnel and large mason jars, or using a soup ladle to put it in measuring cups.
- Once you know how much water you have, decide the ratio of sugar to water that you want to use for a super-light to heavy syrup like we mentioned above. Again, you can use the chart here. Then, use the same steps above for a simple syrup:
- Combine sugar and water and bring to a boil making sure to stir frequently.
- Once it is boiling, reduce the heat and simmer the mixture for a minute or so.
- Remove the saucepan from the heat and leave it uncovered to cool down for use in freezing or refrigerating.
- Store in a freezer-safe container for up to 3 months, or store in the refrigerator for short-term use for up to 1 month.
6. Re-using ALL Water
So, in an effort to keep this project no-waste and sustainable, we had to re-use all the water from this project. First, we re-used the water that was leftover in the water bath canner by allowing it to completely cool and pouring it into the garden.
Blanching water and ice water from blanching both contain vitamins and nutrients. So, we didn’t want to waste that water by dumping it into the drain! The next way we re-used water was to re-use the melted ice water leftover from the blanching process. We gave it to our banana tree and other parts of our garden that needed a boost. One of our pots of blanching water also went into the garden because we made enough peach simple syrup like we said in number 5 above.
Before re-using any water from your preserving projects, make sure hot water is always cooled down before using, and ice water is always melted (or even room temperature) before using. Extreme temperatures can shock plants and plant roots. That’s no bueno! But again, all leftover water from the blanching and canning process can be put directly into your garden or indoor plants, and your plants will love it!
7. Dehydrating peaches
Peaches can also be dehydrated. And, while we just got our first dehydrator right AFTER we preserved all of our peaches, we would have loved to dehydrate some. We enjoy dried fruit and drying fruit is a great way to preserve it to have fruit for the winter or for any time. We considered buying more peaches just to dehydrate some, but we are moving out of peach season and prices are going up, or bulk is no longer available. So, this will be a method of preservation that we add for peaches next year.
If you are interested in preserving peaches by dehydrating them, you will first need to invest in a quality dehydrator like the ones here, then some peaches, and check your product’s manual for instructions. Some basic common steps include: washing fruit well, peeling the fruit, chopping into 1/4 inch pieces, placing pieces on dehydrator racks, and drying for recommended hours about 135 degrees or the temperature recommended by your product’s manual.
8. Freeze-Drying Peaches
Freeze-drying is also one of the ways to preserve peaches that can have a long-term shelf life. However, we have not yet invested in a freeze dryer and have not attempted this preservation method quite yet. First, we wanted to master dehydrating all kinds of foods before investing in a freeze dryer for longer term storage. But, we will link to some resources for freeze drying if you are interested in learning.

Conclusion
And, that’s it! There you have 8 no-waste ways to preserve peaches. Start with one way or try them all! We have completed numbers 1-6 ourselves, but wanted to include 7 and 8 for your knowledge. Also, I would like to mention that we also opened several peach pits to save peach seeds! You can save peach seeds, too, and throw peach pits into your compost for ultimate no-waste ways to preserve peaches!
We hope you found this blog post informative and inspiring! If so, please share on Pinterest and other social media platforms, or send to a friend. Let us know in the comments if you’ve tried any of these preservation methods with peaches and which one is YOUR favorite! And, don’t forget to sign up for our newsletter below for access to our entire free printable library!
Live abundantly, Friend,

Pin this!:
More Links and Resources:
- Favorite, MOST RECOMMENDED Homesteading Resource: School of Traditional Skills
- Read more about freezing peaches here on the National Center for Home Preservation website
- Learn more about freeze-drying food from a sources we trust: The Homesteading Family
- Read about dehydrating food here by The Homesteading Family
- If you want to invest in a quality dehydrator, we recommend the Excalibur Dehydrators
- If you have an Excalibur Dehydrator, you can find product manual information here for temperatures and times of drying
 12 Homesteading Kitchen Skills to Learn in 12 Months or Less
 5 Reasons to Start a Winter Garden
 4 Questions to Ask Yourself Before You Start Homesteading
 5 Homesteading Skills for Beginners to Master First
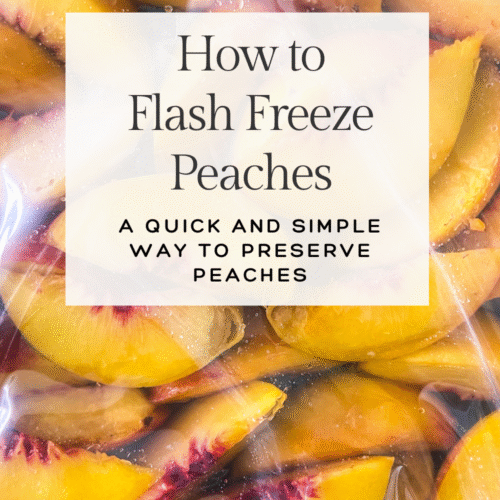 How to Flash Freeze Peaches: A Quick and Simple Way to Preserve Peaches | Homesteading Skills
 4 Keys to Accomplishing All Your Goals This Year
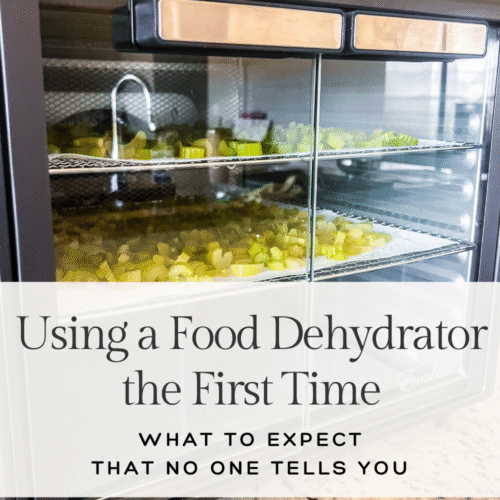 Using a Food Dehydrator the First Time: What to Expect that Most People Don’t Tell You | Homesteading Skills
 How to Keep Chickens Cool with Peppermint Infused Ice Cubes | Raising Chickens
 4 Herbs for Healthy Chickens | Raising Chickens
 15 Health Benefits of Raw Honey | Honey
 How to Homestead through Transitions | Homesteading and Spiritual Encouragement
 10 Ways to Save Money as a Large Family | Homesteading
 Our Story | Homesteading, Homeschooling, & More
 How to Make Raw Milk Butter WITHOUT a Churn | Homesteading
 10 Ways to Start Living Sustainably Today | Sustainability
 How to Use Eggshells to Make a Calcium Supplement for Chickens | Raising Chickens
 7 Ways to Create a Christ-centered Homestead | Homesteading & Christian Living
 5 Reasons Enameled Cast Iron is one of the Best and Safest Cookware and Bakeware Materials | Homemaking, Natural Living, & Non-Toxic Living
Leave a Reply